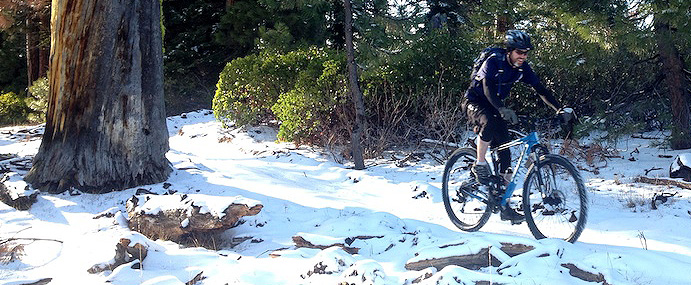
With snow comes snow biking! Fat bikes, skinny bikes and cross bikes can all be fun to ride in the snow.
Please make note that for riding like this you need firm ground. Previously frozen or previously dry. If there has been mud on the trails and we get 2″ of snow on top of that DO NOT RIDE. You are only causing damage to the trail.
Here are some tips which will help you get the most out of riding in the snow regardless of what bike you prefer to use.
1. Adjust Tire pressure.
The most important factor for gaining traction in the snow is tire pressure. A fat bike specific low pressure gauge (#ad) is a great investment. Fat bikes run tire pressures of less than 5 PSI. This allows for some built in shock absorption, as well as more surface area that is in contact with the ground. This rule is also in effect with (skinny) bikes in snow. You will get roughly 50% better traction if you decrease your pressure by about 50%. You won’t need to worry about a blown tube, as the speeds you will be traveling at are low and everything that could pop a tire is padded by a layer of snow.
2. Ride with Flat pedals.
Once you stop and place your foot in the snow or hike-a-bike (which you will do), you will have a hard time getting your cleat back into your pedal. Ride with flats! This also allows you to wear hiking boots (high top, water proof) and can save you from buying specific winter riding boots. We like the Crank Brothers Stamp (#ad) pedals because they come in a large size which is great for boots.
3. Sliding is Normal.
You slide around a lot when you ride in deeper snow. It’s a bit like ice skating. When you start out it feels weird. Many trails are somewhat concave and curve up on the sides so when you are riding in powder, once you get too high on the side of the trail you will slide back into the center (the low). Kind of like driving a car in ruts on the highway. Your bike will just always want to settle at the low point of the trail. Obviously you will want to try and ride in the center from the start, but sometimes you just can’t tell. This takes some getting used to but it becomes comfortable quickly. Try and look up. Don’t stare down at the ground. You will have better balance if you look ahead to where you are going.
4. Stay Seated.
Similar to how a 2WD pickup needs weight in the bed to gain traction in snow, your rear wheel drive bike needs weight in back to retain traction as well. When climbing a hill, you need to keep your weight back. Don’t attempt to stand unless it’s a quick punch over a rock or something. A dropper post (#ad) will make the downhills a lot more fun.
5. Spin, Don’t Hammer.
Important for traction. If you tend to hammer when you ride, you are going to be spinning out often (losing traction). Best to keep revolutions steady with consistent pressure along your pedal rotation. When approaching a short hill try and gain some speed and maintain that speed up the hill. Riding with flats make this difficult, but do your best.
6. Be Sure to Hydrate.
One of the top reasons for frost bite is dehydration. So make sure you are well hydrated before heading out into the cold. A hydration bladder with an insulated hose (#ad) will keep the water flowing in freezing temps. Filling your pack with warm water is a good trick for winter riding.
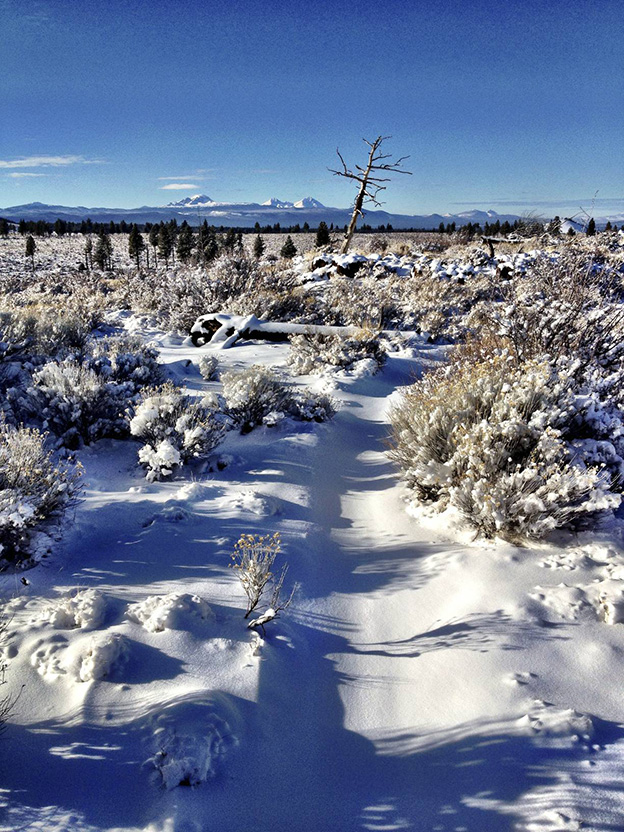
7. Riding in Powder.
Tires get good traction in new powder which is deposited on hard ground or over a packed surface. Powder is light and fluffy after a storm, but over time it will get saturated, and feels like riding through wet cement. You really only have a couple of days to hit trails after a storm with the perfect powder. Your typical skinny MTB will be able to tread through up to 4-6″ of powder. Get used to a grinding at 3-5 mph if you typically ride at 10 mph. It’s more work. Fat bikes are technically better at riding in snow, but the work to go through powder can actually be tougher than with a skinny bike. You are moving more snow out of you way with fatter tires. One of biggest problems with riding skinny bikes in powder is they leave skinny tire-width wide paths which are as deep as the snow. First ride through the powder will be fairy easy. Turn around and come back and that rut you just made becomes almost an obstacle. Your tire wants to follow it, but following a 2″ wide track is impossible, so you just slide back and forth. Fat bikes make nice wide tracks in powder. Pray you are following a fat bike if you ride behind someone. That said if the snow is dense and you are sinking 4 inches or so, even fat bike tracks are hard to follow.

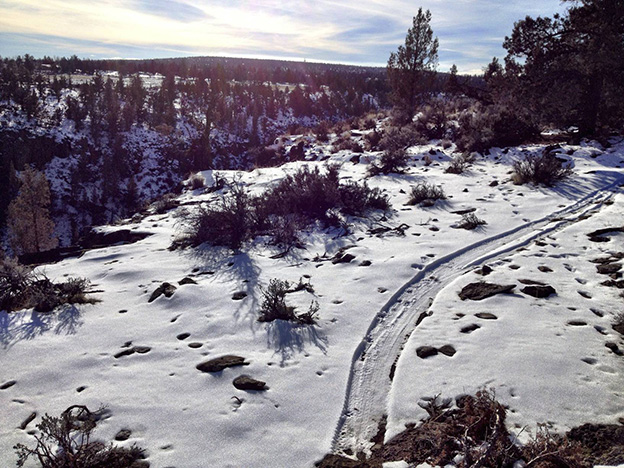
5″ or so of powder on Arnold Ice Cave trail. Was the first rider on the scene. First tracks!
8. Riding on Packed Snow.
Packed snow riding is pretty straight forward. Think snowmobile trail. Snowshoe trails and hiking trails can work as well. Again, tire pressure is very important. Riding on packed snow is the most similar to riding in dirt, but it’s still slippery. Make sure that the trail is wide enough. I rode a fat bike up Ben’s trail last winter about 10 days after a big snow storm. The snow was probably 14″ deep and quite heavy. Snowshoers, hikers and skiers had created a packed channel through the snow about 12″ wide. The packed snow was probably 4″ above the ground, so the trail had walls on both sides. If I got too close to the sides of the packed portion of trail, the tire would sink into the snow and stop the bike. Really the rideable surface was the center 6″ or so of trail. Needless to say it was a balancing act. The farther I went the narrower the trail became. Turned around at rd 4610 so only made it out a couple miles.
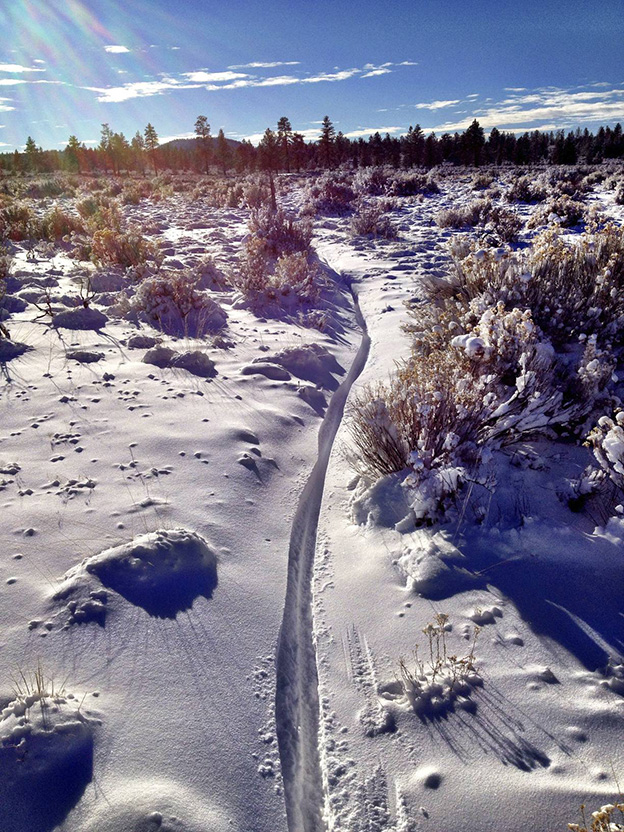
This is the track/Rut left by a 2″ MTB tire on the same trail as you see above. You can see where the bottom of the pedals were skimming the top of the snow. Hard track to follow on the way back!
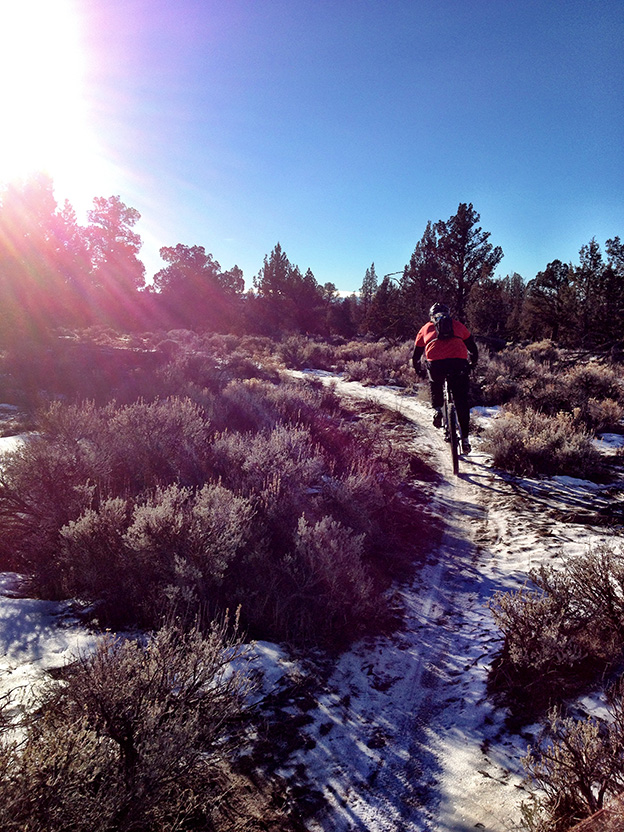
9. Riding in Clumpy or Slushy Snow.
Fat bikes are best for this stuff, but if you aren’t in powder or packed snow, it’s a challenge even on a fat bike. You can ride any bike through 4″ or so of muck, but it’s going to be very slow and quite slippery. The faster you can go through muck, the better you are going to fair.
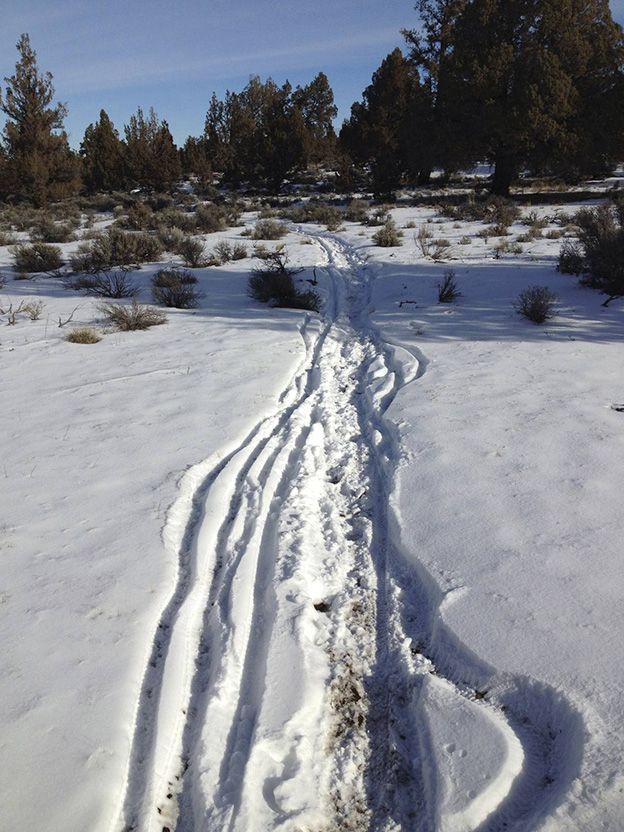
3-4 day old 4″ deep tracked out powder at Maston which was in the process of melting. 11AM ride. Rough going. Super slippery when you aren’t the first rider through the snow.
10. Riding on Frozen ground.
If you are familiar with BendTrails, when the trails get wet or snow thaws, things turn to mud quickly. You can avoid creating ruts in mud by riding early in the day while the ground is still frozen. Ice crystals on dirt create actually a fairly tacky surface to ride on. Snow that has melted and turned to ice is a different story. If the ground is uneven or tracked out, it’s going to be a losing battle.
Taken the same day as the slushy photo above out at maston. 2 things to note. First – much less snow over by the river canyon. More sun? Secondly – these are fat bike tracks. Aren’t they great? Like the trail was groomed!
11. Riding on Ice.
Best idea when riding on ice is to ride with studded tires. Needless to say riding on ice is tricky and dangerous. You can lose traction within a split second. Don’t go too fast in ice. Be especially careful when riding fast around corners where there are trees. You can easily slide off the trail with no warning and tag a tree. Avoid trails with a lot of ups and downs when riding in ice. Maston is your best bet as it’s so flat there. Phil’s and horse butte area as well.
Maston a day or 2 after a 1-2″ snow storm. The ground was frozen in the morning so the snow was crunchy and grippy.
12. Crusty Snow.
If snow is old and has melted a little in the afternoon – it often hardens into crust overnight. Sometimes you can get lucky at high elevations and the crust is so thick you can ride on it! It’s like riding in Moab slickrock. Granted at any moment you can break through the crust and go over the bars.
A more common scenario is that you need to ride through some top crust. That won’t be too much of a problem if your bike doesn’t sink too far. If you instead sink 2-4″, this becomes a real test of will power. You will be riding at 2-3 mph in granny gear as if you were riding up a steep hill. This is all about maintaining momentum. If you stop at all you can’t start again as the crust is too hard to break. You will have to back up a couple feet in your track get momentum from there.
13. Wear the right gear:
I don’t want to get into too much Gear talk – but there are a couple musts.
- Winter riding boots are probably the most important thing you can wear in the snow. Hiking boots that are high top and waterproof also can work – but they typically are not made for below freezing weather. Not only will your feet be battling the cold, but you will be walking your bike at times through the snow. Check out the Wölvhammer (#ad) from 45North. I personally ride with some cheap Kamik snow boots (#ad).
- Gators can be used when riding in powder (or rain for that matter). Your tires will toss snow and water up on your feet. If deeper than about 6″ you may need some gators over your boots. I personally don’t use Gators as my ski pants fit over my snow boots. Some fatbike specific Gators are the BERGRAVEN from 45 north.
- Good gloves. You don’t want something too bulky, but you DO want something insulated, and waterproof. It’s helpful to get something which will group a couple fingers together. I wear some Nordic gloves which group all fingers but my pointer finger together.
- Cycling Pogies are great if you are going on longer rides. These attach to your bars are create large enclosures which cover your hands. You can wear lighter weight gloves this way – and if you like to take photos – it’s a good system to use. 45 North makes some nice Pogies. (#ad)
- Headwear that will cover your ears and provide warmth is key. I wear a snowboard helmet basically. My ski goggles fit perfect. If you plan to ride with a normal bike helmet you will need something more substantial to cover your head and ears. Even a face mask is needed at times. Blackstrap (#ad) makes a nice Tube (#ad)which you can fold onto your head to cover head and ears, or you can put it around your neck and pull up over your face.
- Pants. I wear Goretex ski pants (#ad). They have a liner and no insulation. I don’t wear long underwear under these but I would if it was brutally cold. I wear padded bike shorts under this.
- Upper body. This all depends on how cold and wet it is. I wear a long sleeve non-cotton shirt, with a Merino Wool Deschutes Cycling Sweater over the top as my base. If it’s snowing but not super cold, I wear a Goretex ski shell over this. If it’s cold but not wet I often wear a lightweight down jacket. The down jacket is always kept in my bag and it stows very small.
Hope these tips help you get out into the snow!


I wish I’d read your comments prior to riding my used fat bike on mashed potatoes snow trail
this weekend. Great comments to go with your beer, I buy your ale here in Utah. I’m fond of it as well, I have to say.