A Guide to Updating Bend Trails
We’ve gotten a few emails from folks asking us how to update trail reports on the website. After emailing some instructions, it seemed like a better idea to write a quick page about it.
If you have suggestions about the site, or run into trouble, drop us an email.
To Change the Trail Report
Step 1: Create an Account
Click Join in the main menu. Already have an account? Skip to Step 4 below.
Step 2: Check Your Email, Click the Link
The site will generate a one-time link which will allow you to pick a password. If you lose your password, the process is basically the same, just click the ‘Lost your password?’ link.
Step 3: Pick a Password
Not ‘1234’ or ‘StarWars’. Make it hard to guess. Different from your bank account.
Optional: Customize Your Profile Photo
You can add an optional avatar to your profile by setting up an account at Gravatar.com. Gravatar is a universal avatar format which works on nearly all websites.
Step 4: Log In to BendTrails
You’ll find a Log In link in the main menu. Boom. You’re in!
Step 5: Find the Trail You’d Like to Update
From the main trail list or the Bend trail map. Whatever you prefer.
Step 6: Use the Status Drop Down, and Hit Update
On desktop computers and tablets, you’ll find it in the upper right Trail Snapshot. On phones, the menu is probably near the bottom of the first screen. We log the timestamp and your username but don’t display them to the public.
To Leave a Comment
Step 1: Log In as Noted Above
Scroll down. Discussions are on the bottom of the page.
Step 2: To Post a New Comment
Just type in the text field and hit Post Comment. Kerpow.
Optional: Replying to a Comment
If you want to have a threaded discussion or reply to a specific point, just hit Reply and your comment will be attached like the illustration above.
Optional: Set-up Your Profile Photo
Visit the Gravatar website and follow their instructions to set-up a universal WordPress avatar.

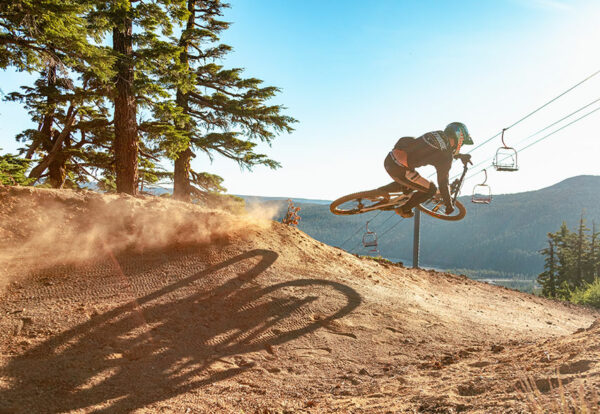
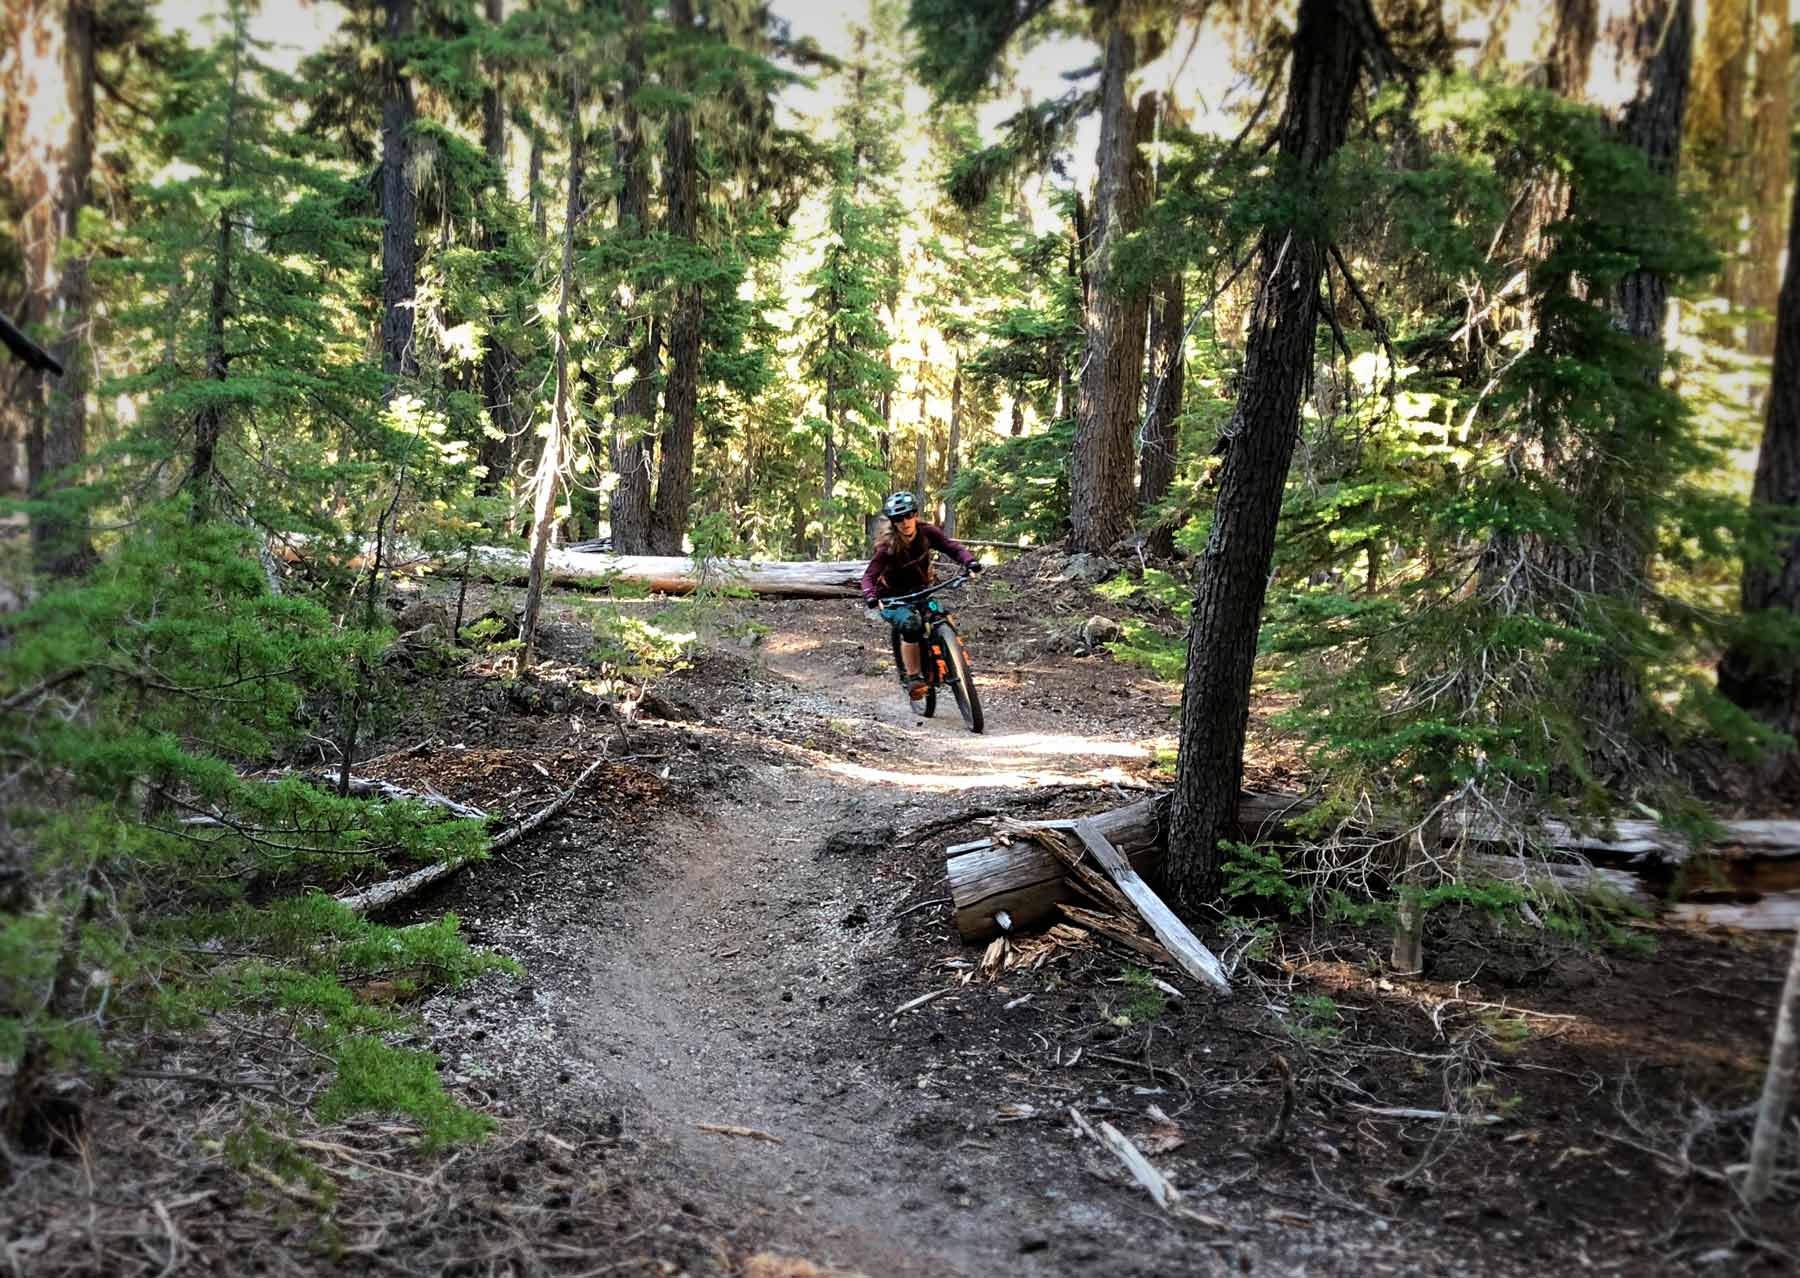
Lift Accessed Mountain Biking
The Mt. Bachelor Bike Park features a combination of machine-built flow trails and hand-built single track completing over 13 miles of bike trails and is an extension to the 500+ miles of single track offered here in Central Oregon.
Get Park Tickets
Play Hard • Eat Well • Drink Local
J-Dub, located in the heart of Downtown Bend, offers comfort food to satisfy hungry people that play hard. Featuring local beers, full bar, and outdoor patio where furry friends are welcome, including a menu created specifically for them!
Check Out Our Menus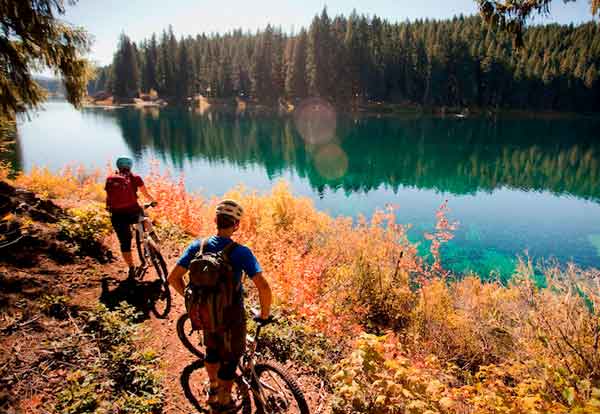
Mountain Bike Rentals & Shuttles
Horse Creek Lodge & Outfitters has bike rentals for only $65 per day, so you can soar down the McKenzie River Trail, O’Leary Loop Trail, or Olallie Trail on a high-quality mountain bike. Ask about our kids bikes too!
Horse Creek Lodge
Go Until Your Equipment Gives Out
Meet the developers who built the BendTrails website UI/UX — they know how to blur the line between work and play.
Learn More
